Water Timer Valve Not Closing? A Safe Shut-Off Checklist
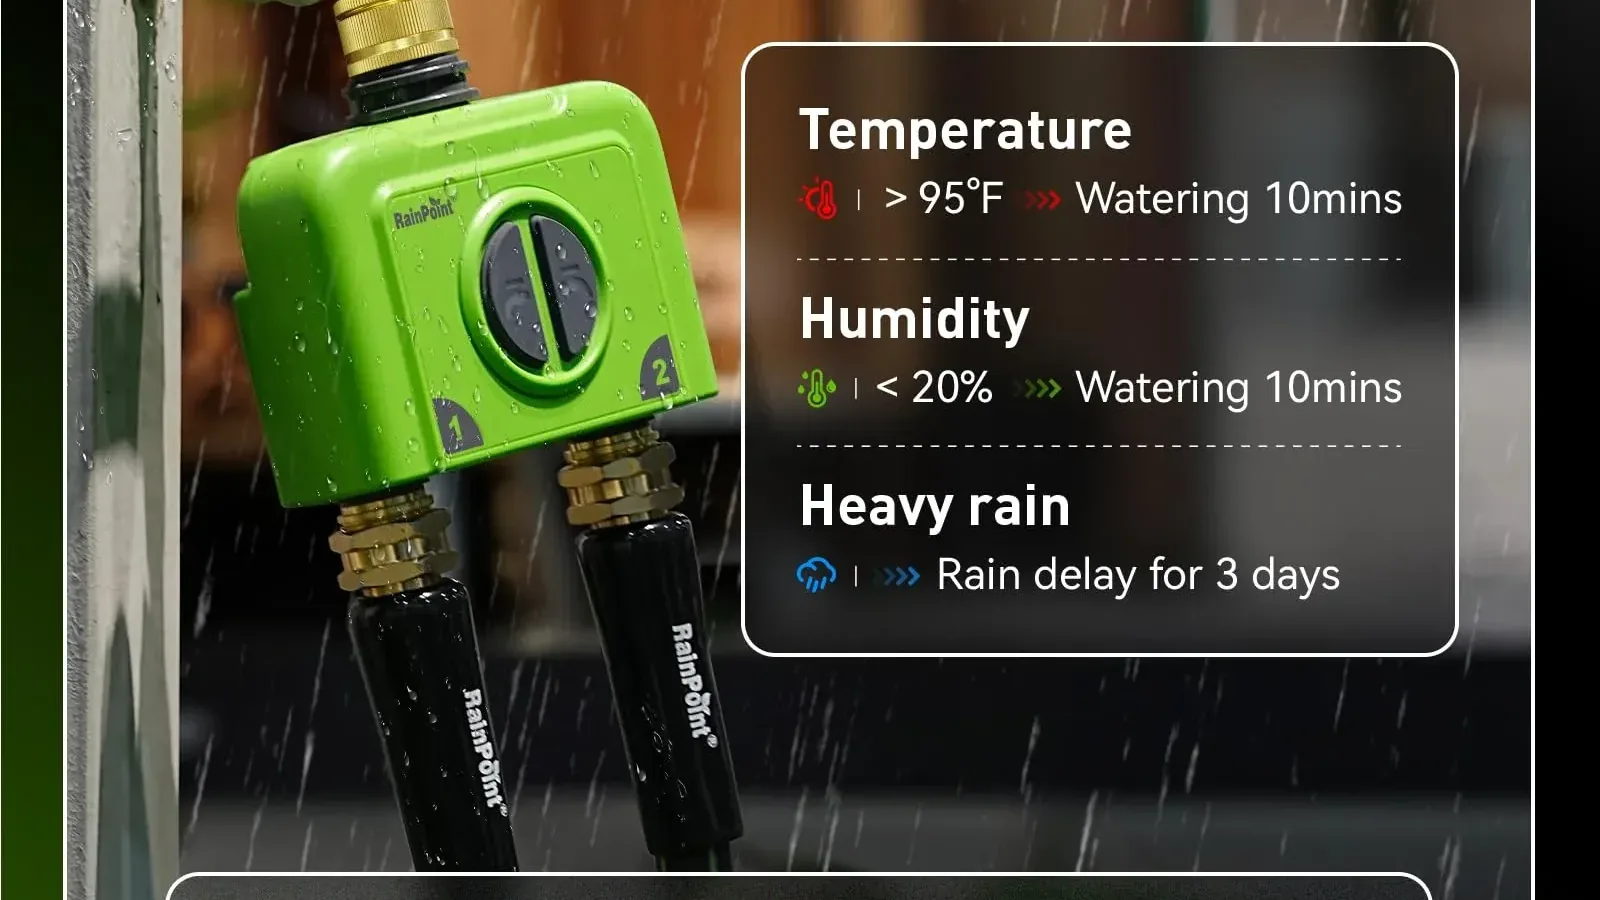
Short answer: If a water timer valve is not closing, turn off the outside tap manually and do not leave the system unattended. First establish whether water is flowing through the outlet or leaking around a connection. Then check only external, documented items such as the active schedule, visible damage and accessible filters. Do not open a sealed valve body or rely on the timer as the only means of isolation.
A valve that continues to pass water can waste water and expose weak connections. It is also easy to misdiagnose: a dripping inlet washer, water draining from a hose and a valve held open are different faults. The safest process begins by stopping the supply, drying the equipment and recording the exact symptom before changing parts.
Take control of the water first
- Turn the outside tap off. Use the property's normal accessible isolation point if the outside tap itself will not close and you know how to operate it safely.
- Keep people away from pooled water. Water on paving, steps or electrical equipment can create additional hazards.
- Do not disconnect a pressurised timer. Confirm that flow has stopped and release only residual downstream pressure in the manner permitted by the relevant instructions.
- Do not keep cycling the valve. Repeated open-close tests can waste water and may worsen a leak or pipe-noise problem.
- Photograph the undisturbed setup. Record the tap, inlet, outlet and downstream line before removing anything.
If the tap or wall fitting leaks, moves or fails to isolate the supply, the problem has crossed into household plumbing. Arrange a qualified repair rather than attempting to manage it with the timer.
Distinguish continuous flow from a connection leak
With the water isolated, dry the tap, timer body, inlet and outlet. Restore water only for a brief supervised observation if the tap and visible pipework are sound. Watch where the first water appears.
| Where water appears | Likely fault area to investigate | Safe response |
|---|---|---|
| From the downstream outlet when the timer should be closed | Schedule state, external control state or valve closure | Isolate water and follow documented checks without opening the body |
| Around the tap-to-timer joint | Connection, washer, alignment or damaged fitting | Turn off, inspect documented removable parts and never force a thread |
| From a crack or seam in the timer body | Physical damage or internal failure is possible | Stop use and contact product support |
| From the tap spindle, wall or supply pipe | Household plumbing rather than the timer outlet | Isolate and use a qualified plumber |
| Brief drainage that then stops | Residual water in downstream hose or tubing | Observe whether it genuinely continues before diagnosing the valve |
This location test is more valuable than guessing that “the seal has gone”. It also preserves evidence for a support request and prevents unnecessary dismantling.
Check the operating state without inventing controls
Use the instructions for the exact timer model. Confirm the displayed or physical state that is meant to close the outlet, check whether a manual watering action remains active, and review the next scheduled event. The product on this site has no safely supported claim for a particular app, display, manual override, battery type or programme structure, so generic button sequences would be unreliable.
- Record the current time and the intended stop time.
- Record which outlet is affected on a multi-outlet layout.
- Note any warning or status exactly as shown.
- Use only the documented cancel or off action.
- If the state is unclear, isolate the tap and consult the correct manual or support channel.
A timer that appears “off” but passes water may still have an internal problem, debris at a documented accessible point, physical damage or unsuitable operating conditions. These are possibilities, not remote diagnoses.
Inspect only accessible, documented parts
Once the water is off and pressure has been released safely, inspect the exterior for cracks, distortion, damaged threads and displaced seals. If the manufacturer's instructions identify a user-serviceable inlet screen or filter, it may be checked and cleaned exactly as directed. Do not probe the valve, apply oil or chemicals, stretch a spring, scrape a seal or open the housing.
Grit can be suspected when water quality or accessible filtration provides evidence, but symptoms alone do not prove that debris is inside the valve. Likewise, a fault after cold weather does not prove frost damage. Visible cracking, distortion or leakage is enough reason to stop using the equipment without inventing the cause.
The live irrigation troubleshooting guide covers other system-level symptoms such as weak flow, clogged drippers and tap leaks. Use it to check whether the apparent valve problem actually begins downstream.
Make one supervised retest
- Reassemble only documented user-removable parts with the water isolated.
- Support the timer and hose so they do not pull against the tap.
- Restore the supply gradually while watching every connection.
- Use the exact documented action to open, then close, the affected outlet once.
- Confirm that outlet flow stops and remains stopped.
- Turn the tap off again if closure is delayed, incomplete or accompanied by banging or leakage.
Do not leave the timer running unattended simply because it passed one test. Recommission the wider layout under observation and keep the tap accessible. For holiday watering, a longer supervised trial is sensible, but no trial can guarantee that equipment will never fail.
Repair, support or replace?
| Finding | Best next route |
|---|---|
| Documented setting was still active and the valve now closes reliably | Correct the schedule, supervise a further test and keep a record |
| User-serviceable screen was visibly blocked and documented cleaning restores closure | Monitor closely and investigate the water/debris source |
| Body is cracked, distorted or leaking | Stop use and contact product support or replace the unit |
| Valve still passes water after one controlled retest | Keep isolated and contact product support |
| Tap, supply pipe or household fittings are involved | Use a qualified plumber |
| Persistent banging occurs at shut-off | Stop repeated testing and have the plumbing symptom assessed |
Keep purchase evidence, the model reference, photos and a concise fault timeline. A 12-month warranty duration is supported for products sold by this business, but the start point, exclusions, remedy, shipping and claim procedure are not verified here. Follow the current published terms and do not assume a particular outcome.
Prevent a repeat without making unsupported promises
- Keep the outside tap and timer accessible for manual isolation.
- Do not force unknown connectors or support heavy assemblies from the tap thread.
- Use documented filtration and pressure conditions for the installed components.
- Inspect for leaks and verify shut-off during commissioning.
- Disconnect and store equipment as its maker directs when it is not intended to remain installed.
- Check current water-supplier restrictions before running automatic irrigation.
If the episode prompts a replacement decision, use the live UK irrigation system selection guide to define the garden job before comparing controllers. A different timer should be chosen from verified requirements, not from an assumption that every closure fault has the same cause.
FAQ
Why does water keep flowing when the timer says off?
The cause could involve an active control state, incomplete valve closure, accessible debris, physical damage or another condition. Isolate the tap, verify the exact model instructions and avoid declaring an internal fault until the external checks are complete.
Can I tap the timer to make the valve close?
Do not strike the device. Impact can damage the body or connections and does not provide a reliable repair. Isolate water and use the documented support route.
Should I take the valve apart to clean it?
No. Clean only parts explicitly identified as user-serviceable in the manufacturer's instructions. Keep the sealed valve body closed.
What if only one outlet will not close?
Record which outlet is affected and test it once under supervision after safe external checks. The unaffected outlet does not prove the other is safe to leave pressurised. Isolate the supply and seek support if closure remains incomplete.
Can high pressure make a valve fail to close?
Pressure conditions may be relevant, but the symptom does not prove the cause. Do not change household pressure controls or fit a regulator without measurements, component limits and qualified advice where needed.
Conclusion: isolate first, diagnose second
A water timer valve that will not close is an isolation problem before it is a product-selection problem. Turn off the tap, locate the actual flow or leak, follow model-specific external checks and stop before sealed-valve repair. If replacement is appropriate and a two-outlet layout matches the garden plan, you can view the dual-valve smart irrigation controller. Treat it as a category option only and verify its connection, pressure and operating requirements independently.
Sources and further reading
- watersafe.org.uk: Safe outside-tap, hose disconnection and backflow context
- watersafe.org.uk: Outside-tap safety and approved-plumber escalation context
- watersafe.org.uk: Escalation for persistent banging or pressure-related pipe symptoms