How to Calculate Drip Irrigation Run Time Without Guessing
Short answer: Calculate drip irrigation run time by dividing the target water volume by the total measured emitter output, then multiplying by 60 to convert hours to minutes. Treat the answer as a starting point, not a universal schedule. Check how deeply the water reaches, how the soil drains, what the weather has done and how the plants respond before repeating the run.
The formula is easy; choosing the inputs is the real gardening work. A timer can deliver a duration, but it cannot decide how many litres a particular plant needs in every soil and season. RHS guidance advises against a rigid routine because demand changes with weather, soil type, plant size and establishment. The best schedule therefore combines measured delivery with observation at the root zone.
Use volume, not minutes, as the starting question
“How many minutes?” has no useful answer until you know how much water the emitters deliver. Two layouts can run for 30 minutes and apply very different volumes. One may have a single low-output dripper; another may have several emitters around a large container. Start by defining a target volume for the area or plant group, based on suitable horticultural guidance and observed moisture, then convert that volume into time.
The core formula is:
Run time in minutes = target litres ÷ total emitter litres per hour × 60.
| Input | Where it comes from | Why it needs checking |
|---|---|---|
| Target litres | Plant, container or bed need assessed for current conditions | It changes with soil, weather, root depth and growth stage |
| Emitter output | Measured delivery or applicable maker data | Actual output may differ across the line |
| Number of emitters running | Your physical layout | Only emitters operating together belong in the total |
| Run time | The calculation | It is a first test, not proof of correct watering |
Measure actual emitter output
- Operate the intended watering section. Test under the same supply and component arrangement you plan to use.
- Collect water from representative emitters. Include near and far points rather than measuring only the strongest outlet.
- Use a known time interval. Fifteen minutes is convenient because multiplying the collected litres by four gives litres per hour.
- Compare outputs. Large differences may point to a layout, pressure, blockage or component issue that should be resolved before scheduling.
- Add only the emitters that run together. The sum is the total litres per hour for that plant group or section.
Do not infer emitter output from the controller's number of outlets. The two-outlet category fact tells you how many controlled paths the product has, not how many litres each can deliver or how many drippers it can support.
Work through a transparent example
Imagine four emitters are measured at 2 litres per hour each and all four water the same bed. Their combined output is 8 litres per hour. If a horticulturally chosen first-test target is 6 litres for that bed, the calculation is:
6 litres ÷ 8 litres per hour × 60 = 45 minutes.
This example demonstrates the arithmetic only. It does not recommend six litres for a particular crop, bed size or soil. After the 45-minute test, check where the water went. If the surface is wet but the intended root zone remains dry, the delivery pattern or infiltration may need attention. If water pools or runs away, a shorter split application may be worth testing while preserving a carefully chosen total volume.
| Measured response | What to review | Next controlled change |
|---|---|---|
| Moisture reaches the intended root zone evenly | Weather and plant response before the next run | Keep the test setting and continue observing |
| Surface pooling or runoff | Soil infiltration, emitter position and application rate | Pause, then test a divided run rather than adding more volume |
| Dry patches beside wet patches | Emitter output and placement | Correct distribution before extending time |
| Soil stays wet for too long | Drainage, target volume and frequency | Reduce one scheduling variable and reassess |
| Root zone remains dry | Total delivery, blocked emitters and test depth | Verify output before increasing duration |
Adjust for UK soil and weather
RHS watering guidance says plants need different amounts depending on weather, soil type, stage of establishment and size. It also recommends watering less often but more thoroughly for many established plants, while recognising that containers and newly established plants behave differently. That means yesterday's calculation is not a standing order for the whole summer.
- Clay-dominant soil: watch for slow infiltration, surface pooling and lateral spread. A divided test may be more informative than one long run.
- Free-draining soil or compost: check whether water passes below the active root zone before plants can use it.
- Containers and hanging baskets: inspect more often because limited compost volumes can dry quickly, especially in wind and warm weather.
- Recent rain: check actual soil moisture before running the next programme; rainfall totals alone do not show root-zone moisture.
- Cool or cloudy periods: reassess rather than repeating a hot-weather duration automatically.
The live home irrigation system guide helps place drip watering within the wider garden plan. For component selection and line layout, use the UK drip irrigation kit guide.
Separate duration from frequency
Duration answers how long one run lasts. Frequency answers how often that run is repeated. Changing both at once makes it hard to learn from the garden. If a measured application is reaching the right depth but the soil is still wet when the next run begins, review frequency first. If each run is too shallow, review delivery and duration before simply watering more often.
Keep a short log with the date, weather, measured output, run time and root-zone observation. A week's notes are more useful than a complicated schedule copied from a different garden. Record changes one at a time so that the result has a clear cause.
A practical commissioning checklist
- Confirm the outside tap and irrigation components are suitable and leak-free.
- Measure representative emitter output under normal operation.
- Choose a target volume from plant-appropriate guidance, not from the timer.
- Calculate a first run time and write down the assumptions.
- Run the test while the system is supervised.
- Check moisture depth, distribution, pooling and drainage.
- Review weather before the next run.
- Change duration or frequency one at a time.
Waterwise and RHS describe well-controlled drip irrigation as one way to apply water near the root zone, but “well controlled” is the important condition. A timer that repeats an unverified duration can repeat an error just as reliably as it repeats a good schedule.
FAQ
Can I calculate run time from the emitter label?
You can use applicable maker data for an initial estimate, but measure representative emitters in the installed layout when practical. Pressure, line length, restrictions and distribution can affect actual delivery.
How long should drip irrigation run in clay soil?
There is no universal duration. Measure emitter output, choose a justified target volume, then watch infiltration and moisture depth. If water pools, test a divided application rather than assuming a longer continuous run is better.
Should I run drip irrigation every day?
Not by default. Frequency depends on the plant, soil, weather, container size and establishment stage. Check the root zone before repeating a schedule.
Does a smart controller calculate the right duration automatically?
No such feature is supported for the product on this site. Treat the controller as a category-level scheduling device and verify programme, sensor and weather functions from current product evidence before relying on them.
What if emitters deliver different amounts?
Resolve the distribution problem before using an average to set a long run. Check measured output, placement, documented pressure requirements, accessible filtration and visible line restrictions.
Conclusion: calculate, test and observe
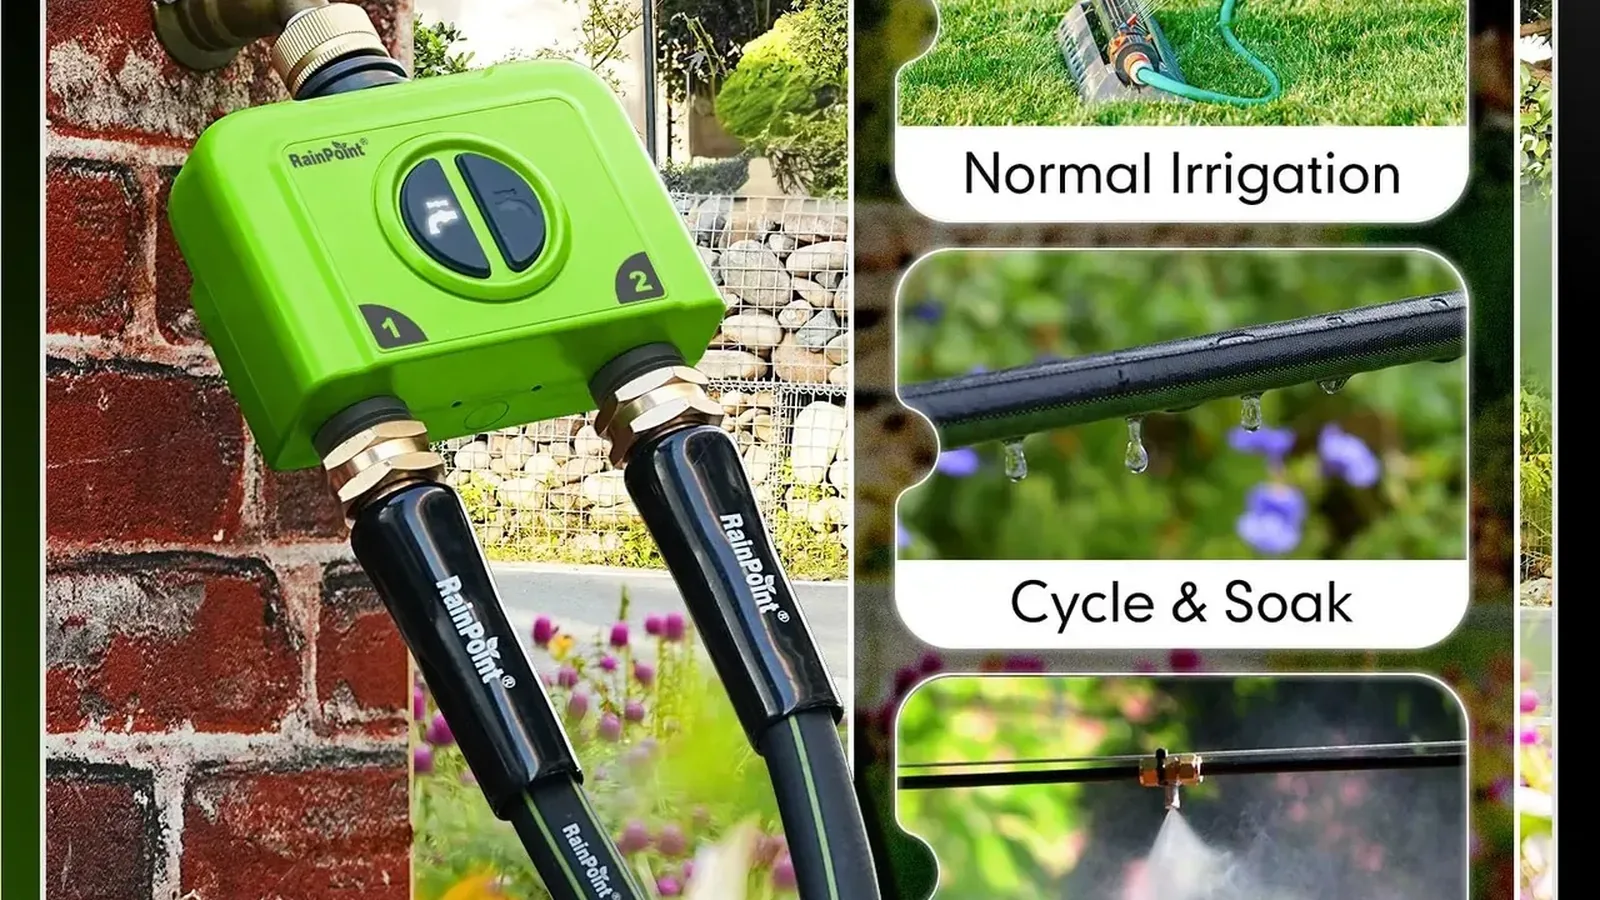
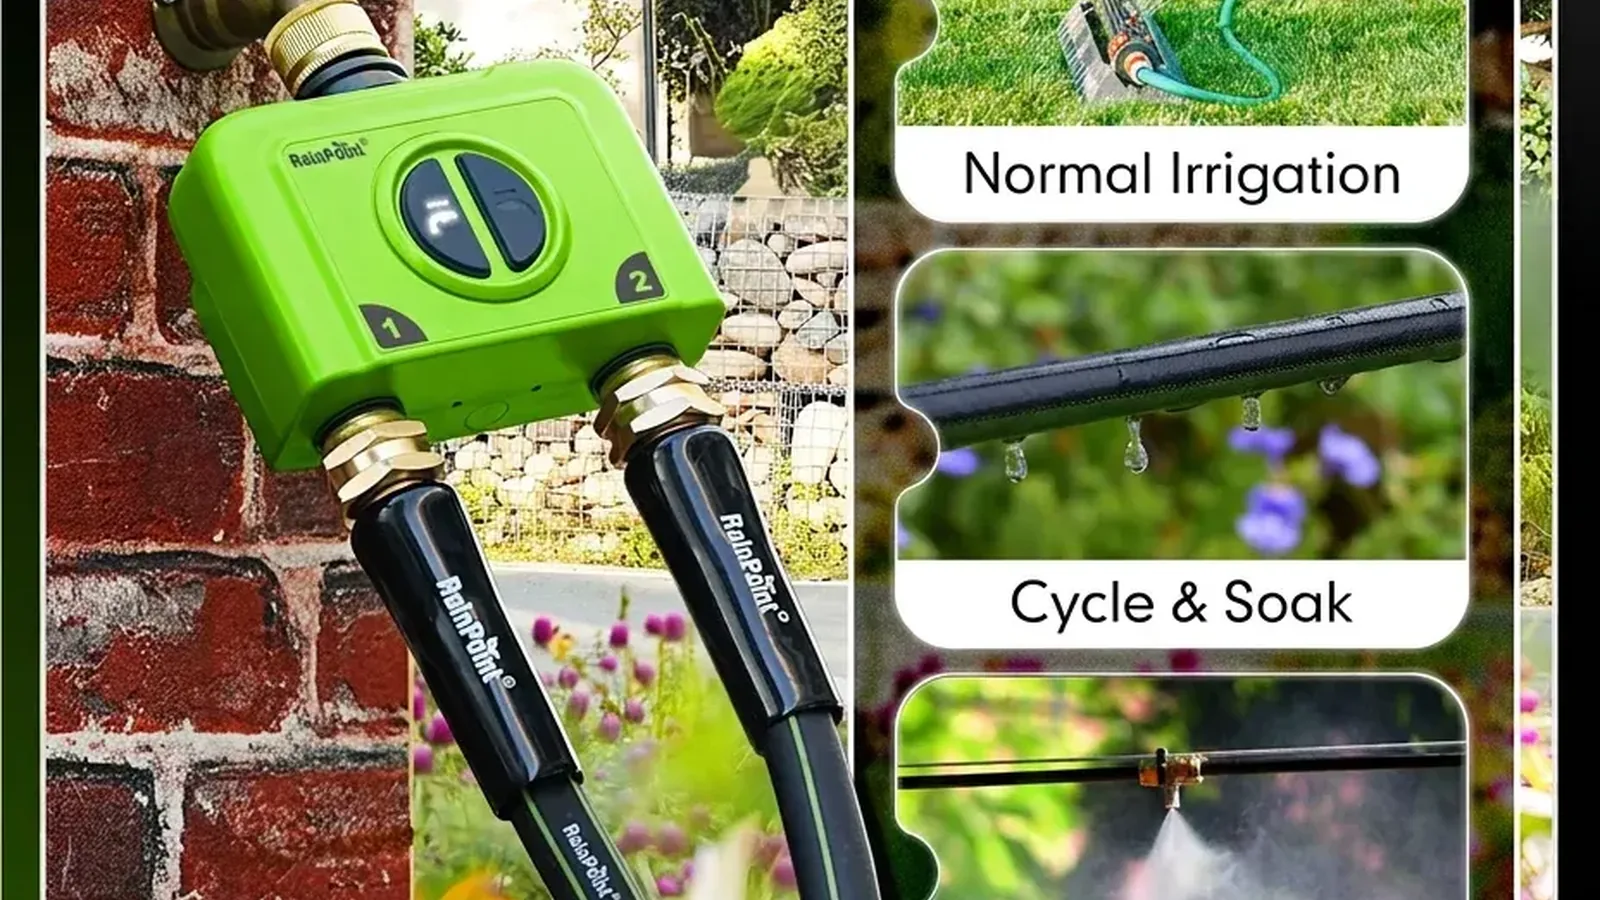
The dependable sequence is target volume, measured emitter output, transparent calculation and a supervised root-zone check. Keep duration separate from frequency and revisit both as UK weather changes. If two distinct garden areas need separately controlled schedules, you can view the dual-valve smart irrigation controller as a possible category choice. Do not infer programme modes, app controls, pressure capacity or emitter limits from that description; verify them before purchase.
Sources and further reading
- rhs.org.uk: Watering should vary with soil, weather, plant size and establishment; root-zone observation matters
- database.waterwise.org.uk: Well-controlled drip irrigation and root-focused watering as water-wise garden methods